|
As impolite and churlish as it may
seem, I'd like to start with a whinge - and anyone familiar with the A7 and
Trumpeter might be able to guess where this is going from the pics. No, it is
not the thick intake or any of the other 'problems' with this kit mentioned
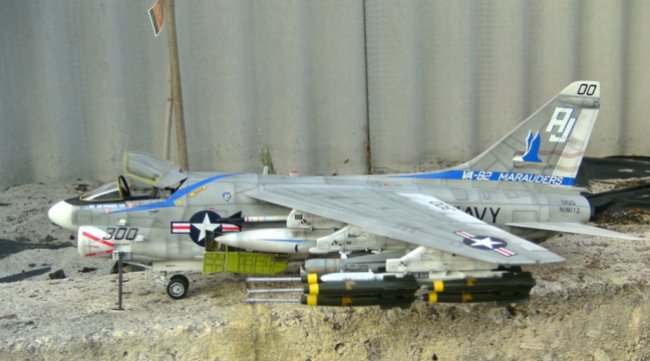
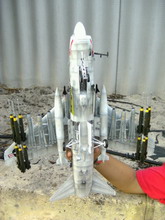
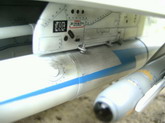
elsewhere, but rather the things under the wings and the construction
notes. The bottom line is don't use the Mavericks because they just don't fit!!!
And the notes give every indication that this should be the case! The result is
what you see above, with the loadout extending to the middle of the folding
section of the wing. I would have used something else except for my habit of
completing sub sections early in the build and feared that pulling the pylons
off for re-use would have made a horrid mess!
But other than that I enjoyed this kit, built
entirely OOB with the addition of cloth seats, equipment and wheel bay wiring
and flashes on the wing tanks masked from Tamiya tape.
Click on
images below to see larger images
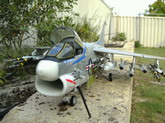
Tried something different with the cockpit,
although it doesn't show too well in the pics (will take photos of cockpit prior
to fitting in future). The panels by the pilots arms are cut into sections and
lightly sanded before the base colour is applied and the edges blackened with a
texta. Then the segments are glued into place and detailed giving the panel a
nicely enhanced 3D appearance.
As usual, panel lines were rescribed and rivets
deepened.
The wings were internally stiffened at the
folding section using lengths of rod- although not advisable, it is possible to
pick up the whole model from the wing tip without it snapping off.
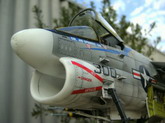
The finish is achieved in 3 coats- a base coat of
colour, then pre shaded panel lines with random applications of light and dark
(white and neutral gray) to simulate resprayed touch ups and wear areas and
finally a coat of heavily thinned base colour (gull gray). Pastel dust is
applied by masking off vertical panel lines and rubbing with a make up remover
pad in the air flow direction. A good coat of 'future' helps to blend in the
pastel dust before decals are applied and a coat of satin clear finishes the
job.
Except for the equipment and wheel bays, there is
no wash or post shading on this model.
All in all, a good kit that was great
fun to build- hope you like the pics.
Mike Pattison
Click on
images below to see larger images
|