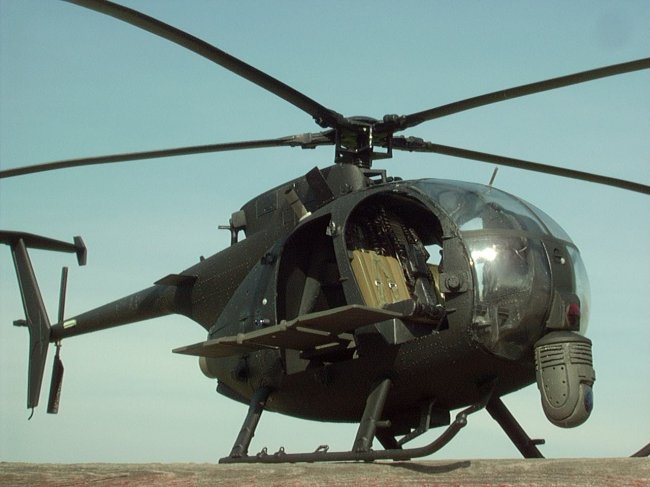
| Converting the
1/35 Dragon AH-6 Little Bird (kit 3527) into a Mission Enhanced Little
Bird MELB) with the Cobra Company resin conversion set. The MELB has
the typical beam to carry loads including lightweight composite seating
for several "operators" Enough backstory, we saw the
movie, lets get on with it. Up for it? Hooah!
Pic your subject and build
that subject, and dont let the guys who say they have "a
picture" saying that your model is wrong get you down. Who knows how
much time went by between the said "picture" and what you are portraying. |
Click on
image below to see larger image
|

|
|
|
Before I get a hundred or so
Emails from folks saying "I have a picture that shows your model is
incorrect" I took the safe route, picked one particular
machine, and modeled that machine as it appeared during that brief
moment in time. These things are flying antenna farms, and sprout
antennas, growths and protruberances at the snap of a FLIR-power switch.
Most antenna and sensor mods are locally applied and no two machines are
the same for long. Such is life in spec ops!
|
Click on
image below to see larger image
|

|
|
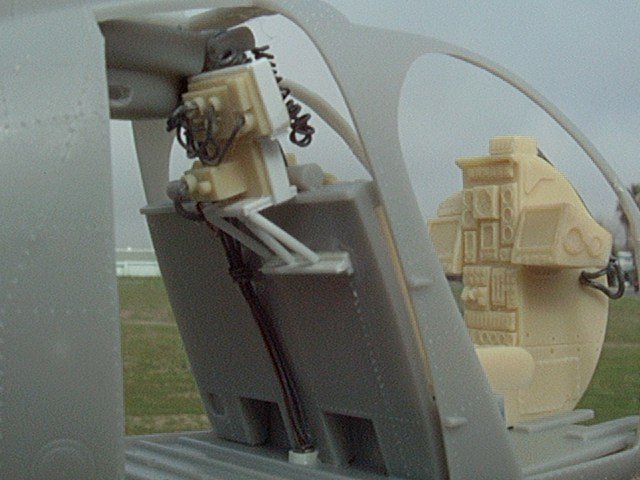
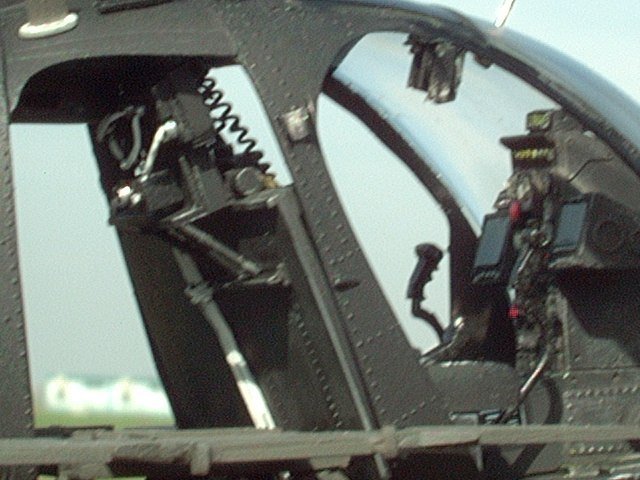
Cobras resin parts were up to
their usual standard, but a bit of cleanup needed to be done to the seat
belts, looked like a fingerprint in the master, about three seconds to clean
that up. Install your parts per the instructions, and plan ahead since this
model has no doors. I chose not to build the fastrope rig, but used foil to
make the mounts for it. I used .010" solder wire to wire up the back
end wire bundle and connect the radio rack and control heads. I made a
simple rack mount from .030 strip styrene for the pilot side radio rack, and
glued everything but the seats, mounting beam, back wall, fire extenguisher
and control grips in place before painting. The collectives got a bit more
detail since the MH6's have a control panel mounted to the end of the grip,
with several switches. Communication cords and cockpit floodlight wires were
made from .010" solder
wrapped around a pin and
installed. These small details surely add to the overall detail of any
aircraft model.
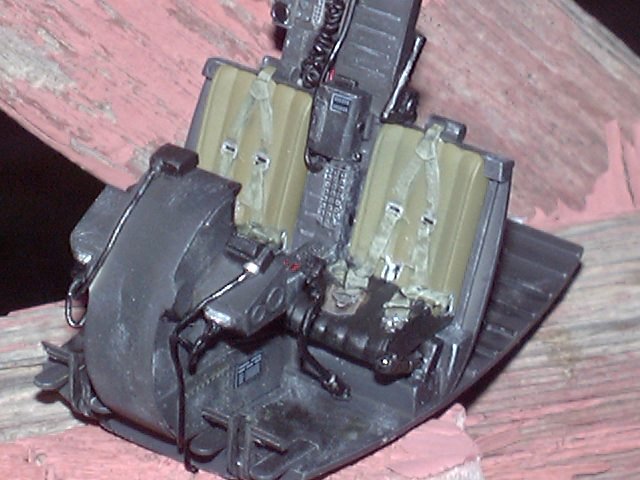
Paint color used was Model
Master Aircraft Interior Flat Black over the whole interior, drybrushed with
sand, chromate yellow and silver. I overcoated the drybrushed spots with a
thin coat of the Aircraft Black, which created a very satisfactory
appearance.
I shot spots of semigloss black
here and there representing where a crewcheif had touched up worn spots.
Detail your instruments to your liking, and paint your seats OD backrest
with black seatcushion.
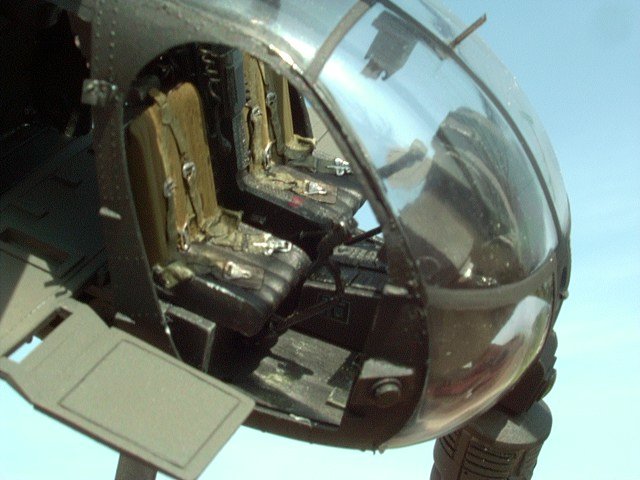
After making the resin beam
mount and getting it to fit the back floor, I prepainted the fuse inside
with several coats of black and glued the fuse together. When dry I slipped
the completed cabin inside through the front end. Dont forget to paint the
upper greenhouse windows with Tamiya Clear Smoke before you install the
canopy and lock it down with epoxy. You have to do a lot of test
fitting and adding strip stock where needed to get it to fit right, its by
far the most troulbe of the otherwise fine kit, but when it's in, the hard
part is over.
The skids were detailed with HO
railroad lifting rings and I carved the large ring mounted to the skid from
.020 plastic.
With the bubble in place, I
mounted the FLIR ring and searchlight, and drilled a hole for the straigth
pin Air Temp Probe. The tailfin got a new sensor mount that juts aft, where
the kit anticollision beacon used to be. Cut that off and glue up a hunk of
rectangular stock, and install two small lights side by side. That will get
a double set of anticollision beacons (red and superdark red) later on.
| The big
sensors can be mounted to the fuse but leave the antenna farm off. I made
the fastrope rig mounting clips from dental Xray foil (just ask and they
will load you up with it, especially if the tech is cute and likes you!
:-) ). I made new engine cover clips from strip stock and thin solder,
looks much better than the plastic hunks on the kit.
Overall paint outside was
again Aircraft Interior Black (its lighter than Flat black, and looks sun
faded). I sprayed spots here and there with semi gloss and flat black to
represent spots that have been touched up. |
Click on
image below to see larger image
|

|
|
I had the beam and one side of
the bench already built up so that I could slip it in the left side, and
just attach the right side benches when that was done. They, along with the
FLIR turret, were painted US Army Helo Drab.
I made a slime light for the
tailboom from strip stock, and painted it with a mix of 9 parts white to 1
part zinc chromate green. I added a simple square GPS antenna on top of the
upper deck; the X shaped antenna was made from quarter round strip stock on
a 1/16th rod and mounted appropriately. Antennas (other than the vertical
VHF) were semigloss black.No decals have been applied.
By now, you are thinking I'm
totally off my rocker. You right! I LOVE this stuff!. This kit was
enjoyable, with the only real effort going into the bubble installation. I
am not finished with this kit, as several small details still need to be
added, which will total an afternoon for me. Actually, despite its apparent
complexity, this kit was a joy to build! Now, I'm off to finish the UH60L
Blackhawk for a contest in February.
|
Click on
images below to see larger images
|

|

|
David
Hover Lover's Model Page is at: http://www.angelfire.com/ca4/hlmp/home.html
Kings County Scale Modelers can
be found on the web at: http://kcsm.freeservers.com
|
|