|
Editor's Note: This is Part
II of a three part article. To return to Part I of this
article, click here.
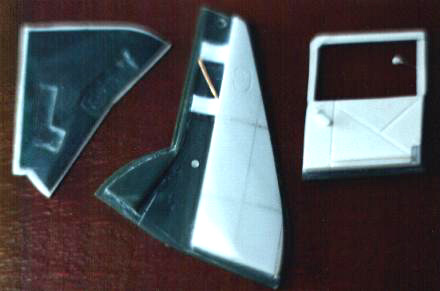
Flaps
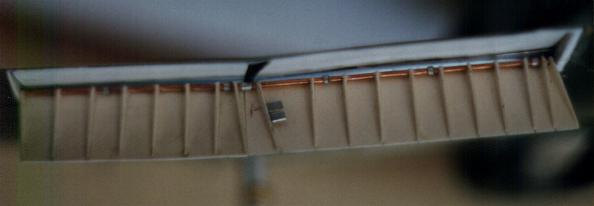
The large flap
consists of two portions which overlap and accommodate the two different angles
of the wing inner and outer sections. The upper wing exposed part was lined with
thin plastic card. The wing trailing edge was sanded down to a fine thickness.
Flaps were scratchbuilt from plasticard. The shaft is made of copper rod and
aluminium tubing.
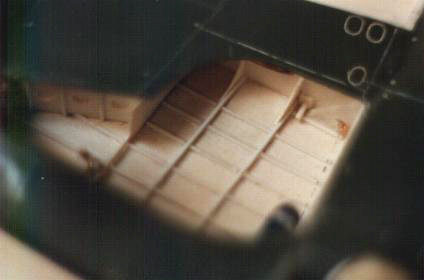
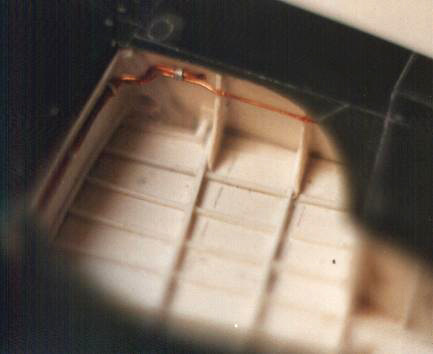
Wheel wells
This was the most
difficult area to work on due to a total lack of information and photos. These
areas were completely built up from plastic card, rod and strip.
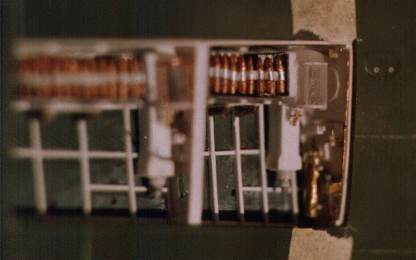
Gun Bay
The gun bay
construction consisted of detailing the bay itself housed in the wing and the
bay doors. The gun bay doors were cut out of the wing and reused. They were
sanded down to a knife edge thickness and detailed. When located in place, these
doors rest on the wing leading edge and also on the gun barrels.
A completely new
gun bay was built up. The Hispanos, ammo feed drums and all else is
scratchbuilt. Ammo boxes were made from thin sheet aluminum and the 20mm shells
were turned from brass rod.
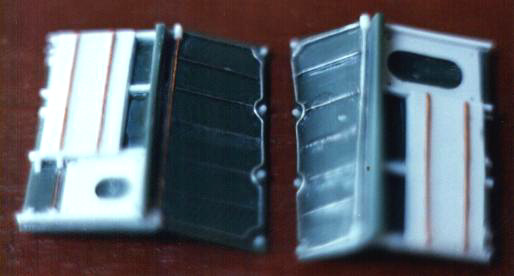
Wheel Doors,
Undercarriage and Car Door
The kit’s
larger doors are accurate. The inner doors, however are smaller. These were
detailed and accurized. Tyres were built up with Milliput to give a weighted
look. The aircraft was heavy and references show great weight on the wheels.
Undercarriage and actuating mechanism was scratchbuilt from copper and aluminium
rod and tube to give stability. The famous car door supplied with the kit was
used as an outer skin and this was built up.
Brian
(click on
the image below to load the full size photo)
(use your
back button to return to this page after viewing full size photo)
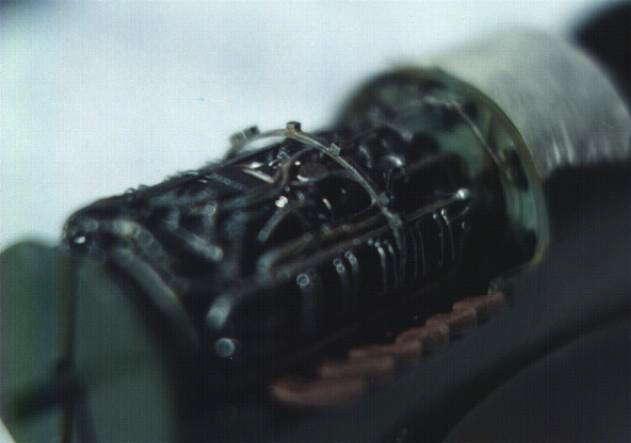
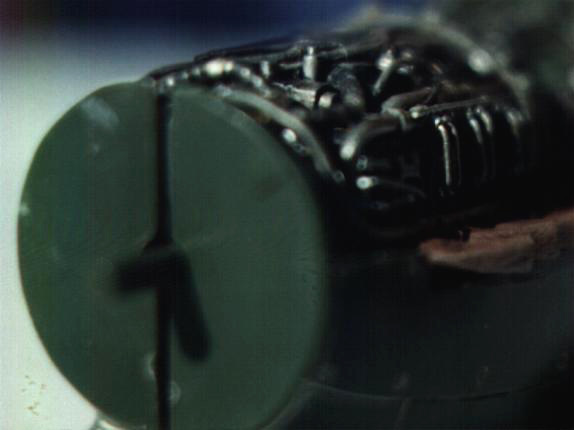
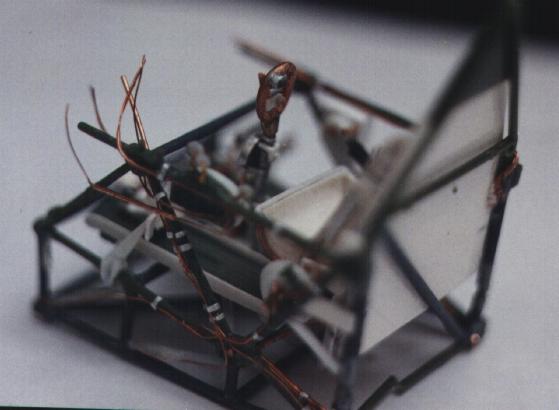
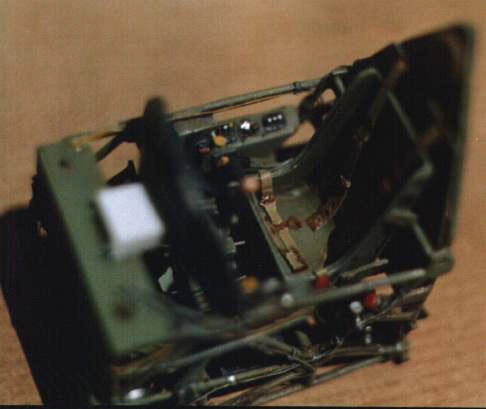
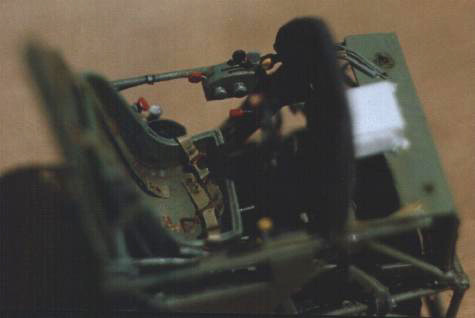
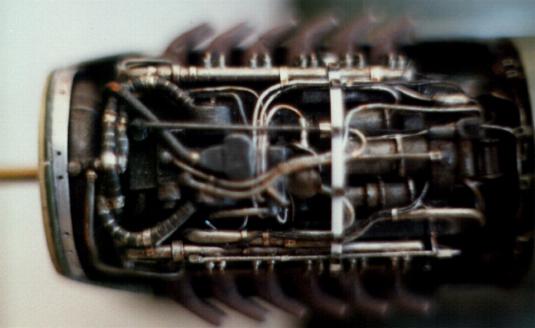
Here are
some additional images of the scratchbuilding in the engine and cockpit, as were
seen in Part I:
To return to Part I of this
article, click here.
To read Part III of Brian's
article, click here.
|